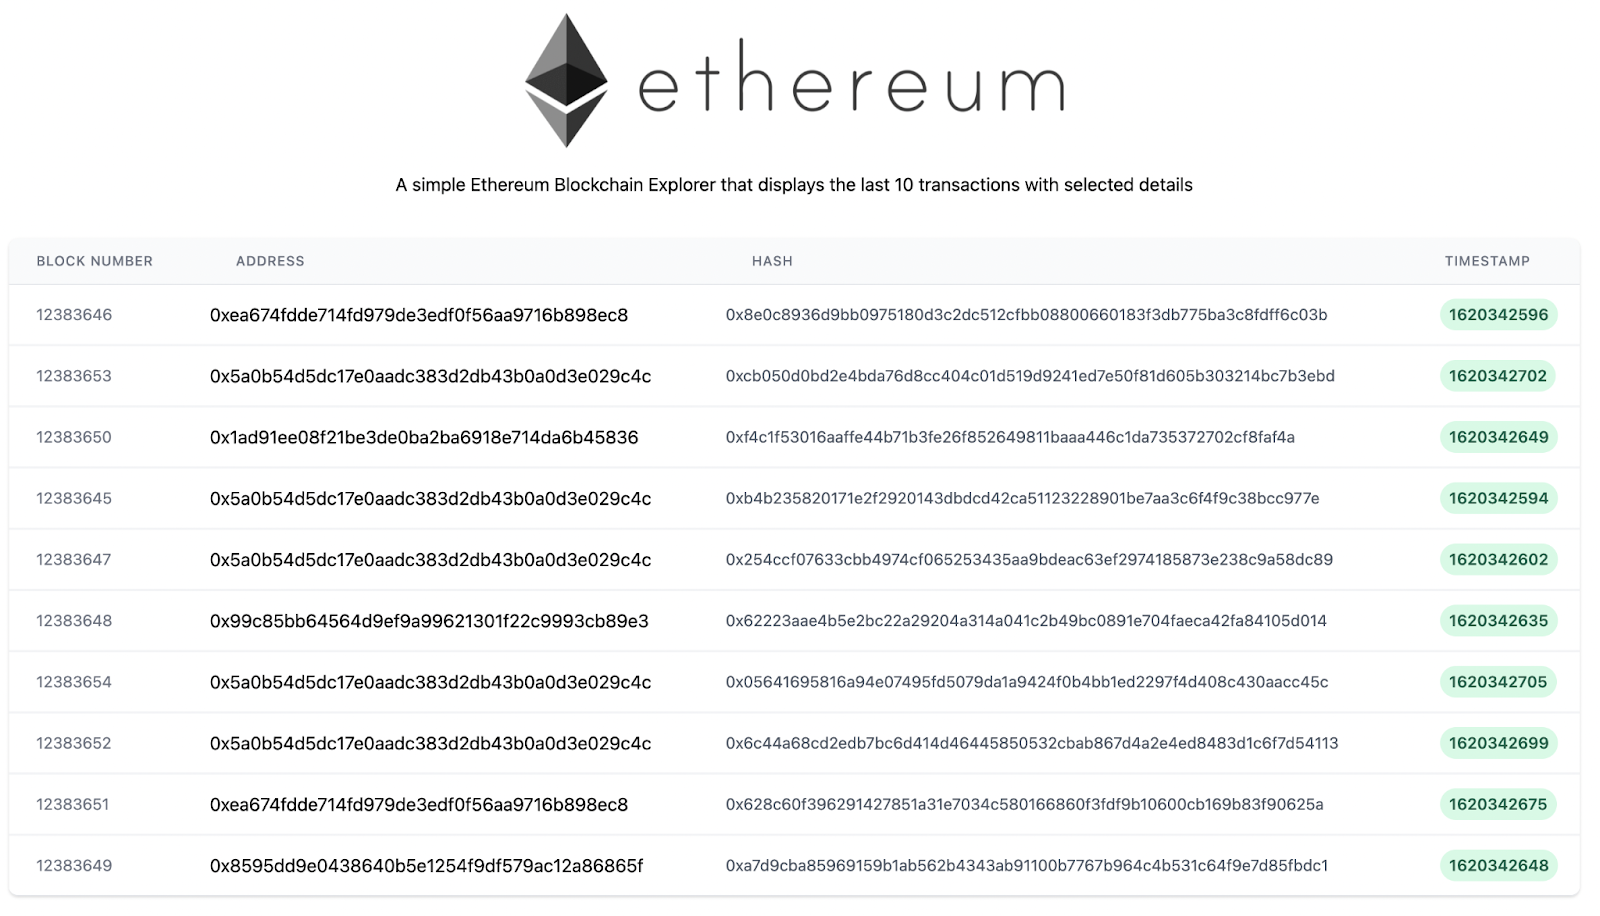
Below is a screenshot of our app’s final version.
HTML Starter
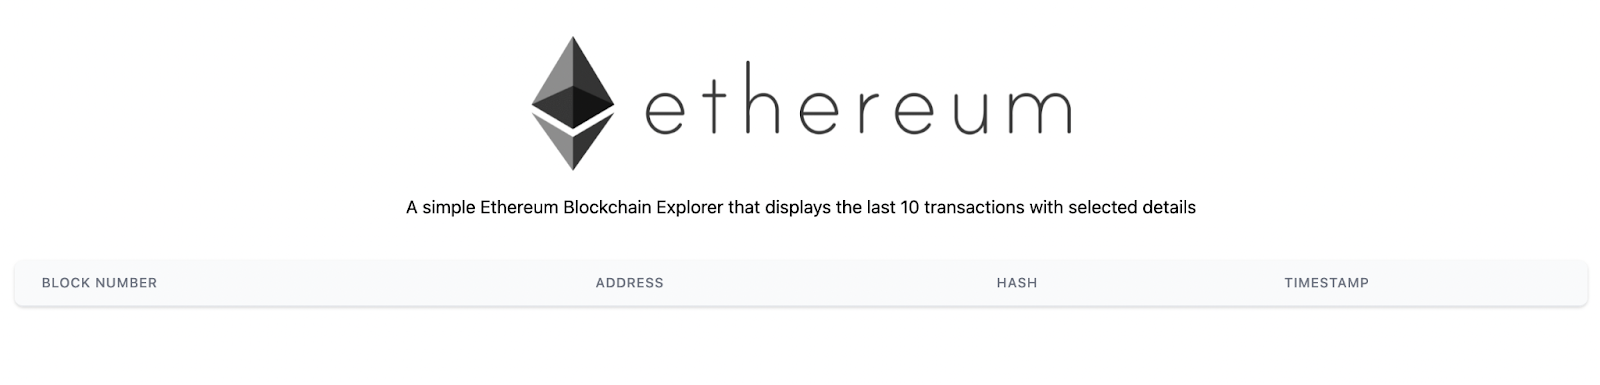
To get started, we will be setting up a basic HTML file called index.html. Since we will be using Tailwind CSS, the Tailwind HTML starter template is a good starting point. We will also be using the CDN link for styles.
N.B. We will be using this since we’re just running a test setup. Using the npm installation is advised for production setups and not the CDN link.
<!DOCTYPE html>
<html lang="en">
    <head>
        <meta charset="UTF-8" />
        <meta name="viewport" content="width=device-width, initial-scale=1.0" />
        <title>Ethereum Blockchain Explorer</title>
        <link href="https://unpkg.com/tailwindcss@^2/dist/tailwind.min.css" rel="stylesheet">

    </head>
    <body>
    </body>
</html>
Table Setup
For this tutorial, we will be highlighting the block number, Ethereum address, hash, and timestamp of each generated block. To do this, we will be setting up the basic blocks of our table. I also added an official logo and a short description to make the whole project look more appealing.
<div class="py-10"> |
This creates:
Getting Block Data From The blockchain
To do this, we will be using web3.js and QuickNode. Web3.js is a collection of Javascript libraries that help you talk to an Ethereum Node.
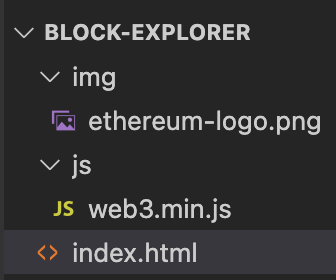
To add web.js, as seen on the official docs, we will be using the minified js file, which will link to our HTML file. You can download the minified web.js file directly from here or from the official web3.js Github page. Unzip the folder and get the file from dist/web3.min.js.
Here’s my current file structure:
We then import below to our <body> tag.
<script src="https://code.jquery.com/jquery-3.3.1.slim.min.js" integrity="sha384-q8i/X+965DzO0rT7abK41JStQIAqVgRVzpbzo5smXKp4YfRvH+8abtTE1Pi6jizo" crossorigin="anonymous"> |
Setting Up a Node
To set up a node:
1. Create an account on the QuickNode Homepage
2. After verifying your email, you will be directed to a page to set up your node.
3. We will be using the 7-day free trial. Please don’t forget your trial before the 7 days elapse.
4. Select the Mainnet Network

5. You will be required to input your credit card details after this. Again, don’t forget to cancel your free trial if you don’t wish to continue using their node APIs after this.
Copy the HTTP provider as we will be using it along with web3.js
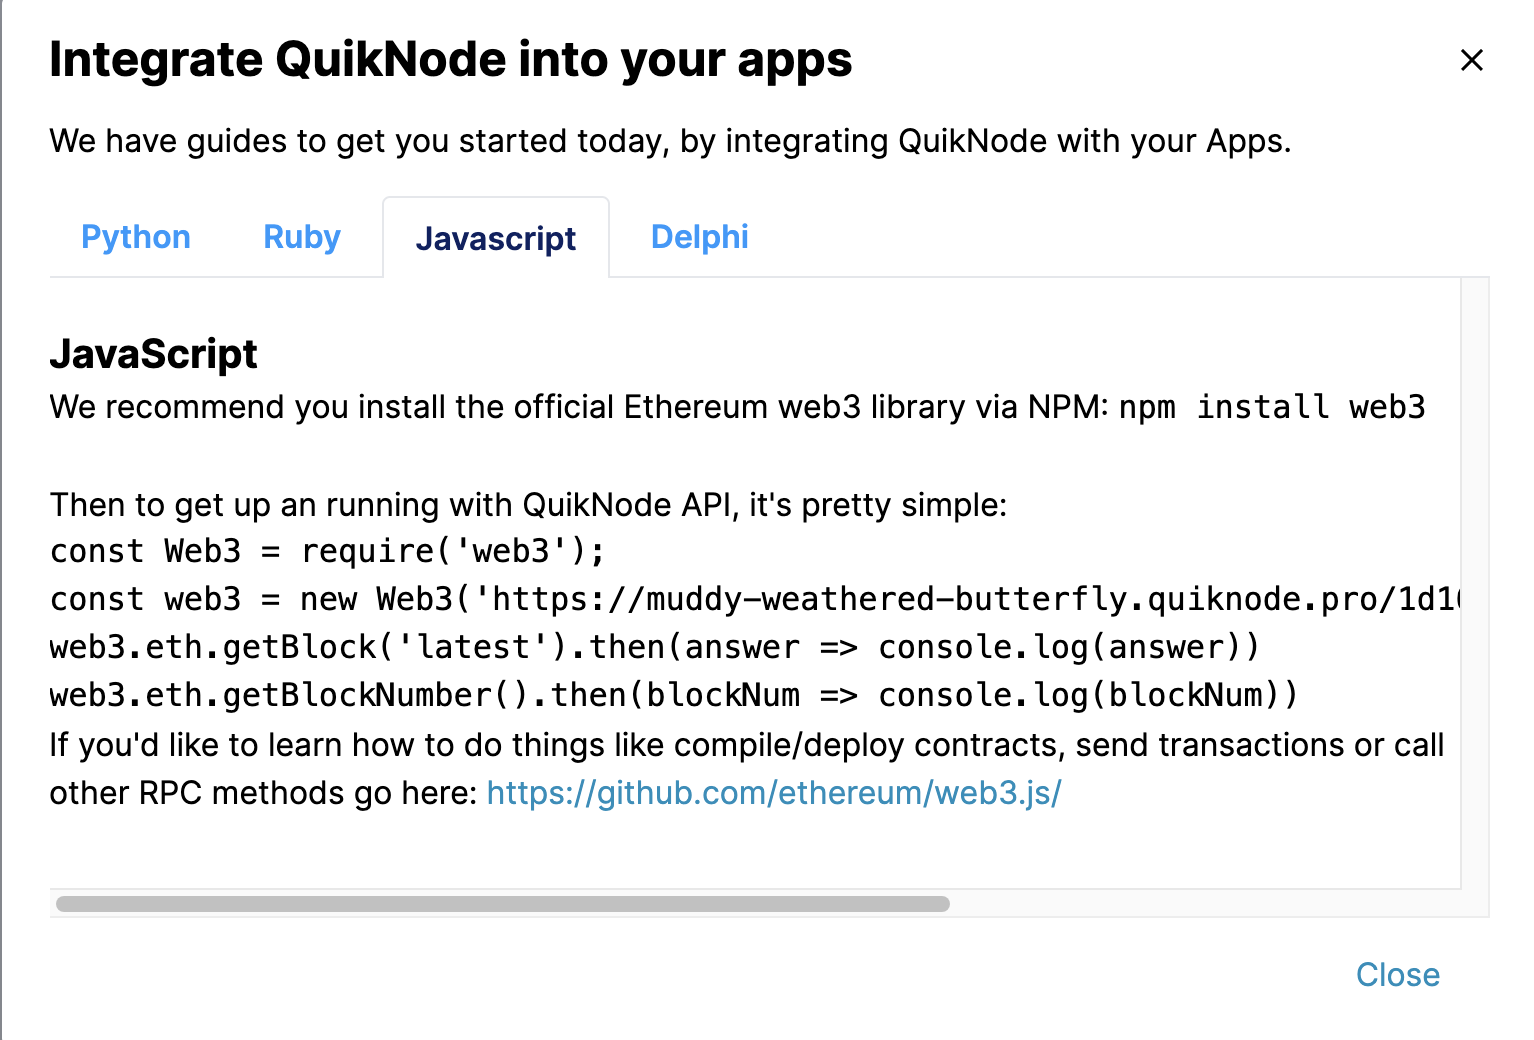
QuickNode provides an official quickstart code snippet. However, require won’t work because it is not supported on the client/browser.
6. Initialization.
Here, we will be connecting to the node which we set up on the QuickNode dashboard.
<script>const provider = '/'; // Add your quiknode HTTP provider link here |
Add the code blocks below to your script to see if you’re connected to the node.
web3.eth.getBlock('latest').then(answer => console.log(answer)) |
Both should get a number and an Object containing the latest block information.
Displaying details about the last 10 blocks
web3.eth.getBlockNumber() and web3.eth.getBlock() are Javascript promises, and we will be combining both to get the last 10 blocks of the Ethereum chain.
web3.eth.getBlockNumber().then(blockNum => { |
Doing that will load the parsed data on our HTML page, as shown below
For further checks, you can find the complete code below
https://gist.github.com/thestriver/05419c8215c039aeed3630d7e34e6732