Metamask is the most popular cryptocurrency wallet with over 10 Million monthly active users. Available as a browser extension and mobile app, Metamask provides key functionalities that make it easy to interact with the Ethereum blockchain and other notable chains like Binance, Avalanche, and Polygon. Web3 developers may use these capabilities to power decentralized apps (dApps), allowing users to perform blockchain-based transactions securely with a single sign-on.
In this article, we will use TypeScript to add a Metamask connect button to a basic React project. Google’s Firebase social login, which allows developers to build apps that authenticate users using their Google, Facebook, GitHub, and Twitter accounts, is a similar traditional web equivalent.
Let’s get started.
Create React App
We will use the official Create-react app documentation to add TypeScript to a react app.
npx create-react-app typescript-metamask --template typescript
cd typescript-metamask
npm start
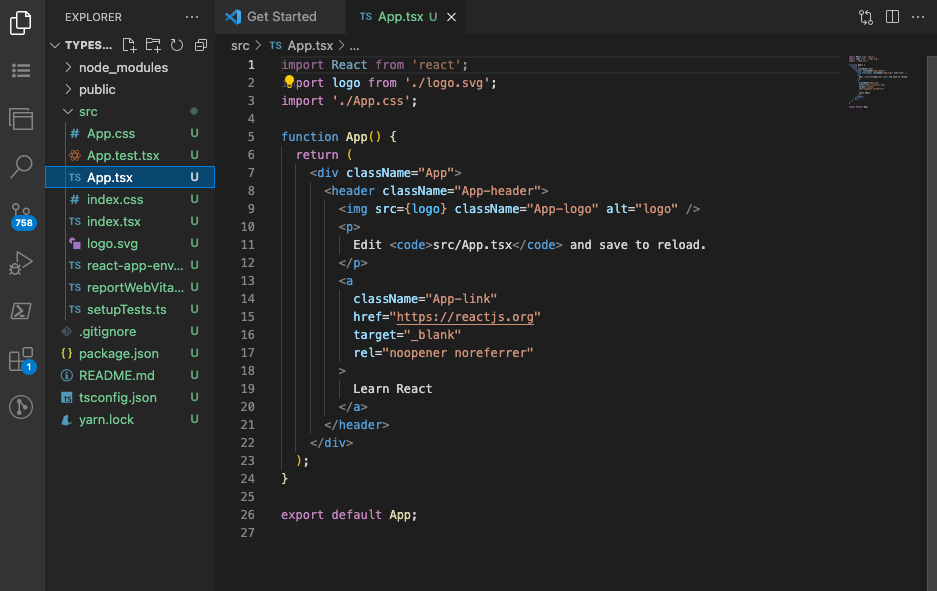
This command will create a basic react app, as shown below. If you’re using Visual Studio Code, you can run code . to launch the editor direct from the terminal.

Consequently, our file structure will look like below.
> src/App.tsx
Does the user have Metamask Installed?
Next, we will use the Metamask window.ethereum API to check if the user has Metamask installed. To call and store the API returns, we will need two React Hooks – useState and useEffect.
import { useEffect, useState } from "react";

const App: React.FC = () => {
 const [isMetamaskInstalled, setIsMetamaskInstalled] = useState<boolean>(false);
 const [account, setAccount] = useState<string | null>(null);

useEffect(() => {
   if((window as any).ethereum){
     //check if Metamask wallet is installed
     setIsMetamaskInstalled(true);
   }
 },[]);
Does the User have an Ethereum wallet/account?
After that, we need to verify if the user has an Ethereum account. To do this, we will query Metamask’s eth_requestAccounts function, which returns an Array of strings – string [].
If the user has an Ethereum account, we’ll create a function to retrieve and store the wallet address.
//Does the User have an Ethereum wallet/account?
 async function connectWallet(): Promise<void> {
   //to get around type checking
   (window as any).ethereum
     .request({
         method: "eth_requestAccounts",
     })
     .then((accounts : string[]) => {
         setAccount(accounts[0]);
     })
     .catch((error: any) => {
         alert(`Something went wrong: ${error}`);
     });
 }
And also display the connected wallet address.
return (
   <div className="App">
     <header className="App-header">
       <img src={logo} className="App-logo" alt="logo" />
       <p>
         ETH wallet connected as: {account}
       </p>
     </header>
   </div>
 );
If the user does not have an Ethereum account, we can have the app prompt the user to install Metamask crypto wallet and create and add an Ethereum account to your wallet.
if (ethereumAccount === null) {
   return (
     <div className="App App-header">
       {
         isMetamaskInstalled ? (
           <div>
             <img src={logo} className="App-logo" alt="logo" />
             <button onClick={connectMetamaskWallet}>Connect Your Metamask Wallet</button>
           </div>
         ) : (
           <p>Install Your Metamask wallet</p>
         )
       }

     </div>
   );
 }
Here’s the final App.tsx version:
import { useEffect, useState } from "react";
import logo from './logo.svg';
import './App.css';

const App: React.FC = () => {
 const [isMetamaskInstalled, setIsMetamaskInstalled] = useState<boolean>(false);
 const [ethereumAccount, setEthereumAccount] = useState<string | null>(null);

 useEffect(() => {
   if((window as any).ethereum){
     //check if Metamask wallet is installed
     setIsMetamaskInstalled(true);
   }
 },[]);

 //Does the User have an Ethereum wallet/account?
 async function connectMetamaskWallet(): Promise<void> {
   //to get around type checking
   (window as any).ethereum
     .request({
         method: "eth_requestAccounts",
     })
     .then((accounts : string[]) => {
       setEthereumAccount(accounts[0]);
     })
     .catch((error: any) => {
         alert(`Something went wrong: ${error}`);
     });
 }

 if (ethereumAccount === null) {
   return (
     <div className="App App-header">
       {
         isMetamaskInstalled ? (
           <div>
             <img src={logo} alt="logo" />
             <button onClick={connectMetamaskWallet}>Connect Your Metamask Wallet</button>
           </div>
         ) : (
           <p>Install Your Metamask wallet</p>
         )
       }

     </div>
   );
 }


 return (
   <div className="App">
     <header className="App-header">
       <img src={logo} className="App-logo" alt="logo" />
       <p>
         ETH wallet connected as: {ethereumAccount}
       </p>
     </header>
   </div>
 );
}

export default App;
The final version before a user connect:
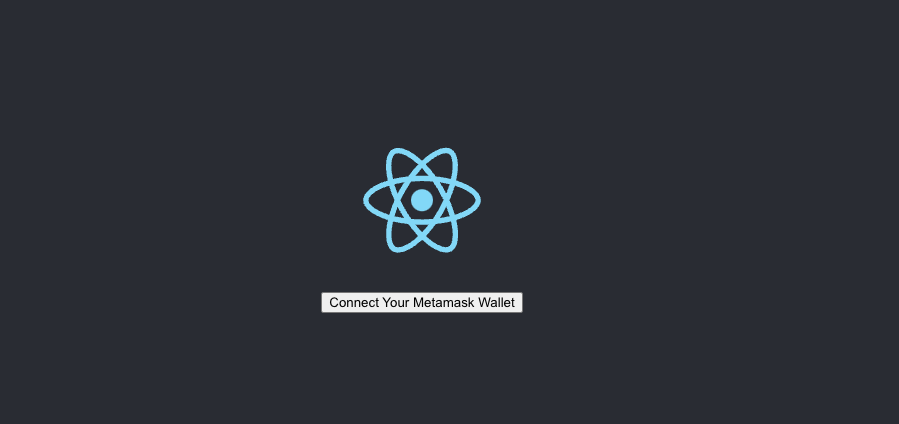
After a user connects:

Conclusion
That’s all. Metamask provides powerful APIs web3 React developers can query when building their Ethereum-based dApps.
However, there are other reputable web3 API services you can use to run Ethereum-based dApps. You can check out my article on QuickNode and Moralis if you’re interested.